
Save grace and flower with these restorative plant staking techniques
by Janet Macunovich / Photos by Steven Nikkila
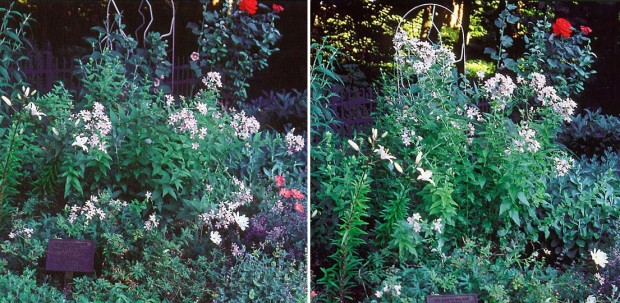
This article is not about proper plant staking, that pre-meditated placing of supports. It’s about staking after a plant falls or when a plant flop is imminent.
Surely you’re familiar with the situation: it takes place in high summer. It involves a perennial whose progress you’ve been following with pleasure—by its fullness and vigor it has made it clear that this year’s bloom is going to be the best ever. The action begins as you step outside to look over your garden and find it, the promising star, leaning drunkenly against a neighboring plant or sprawled flat like a worn out puppy on a hot day.
The next time you find yourself playing this scene, resist the urge to grab all the stems, stuff them together in a string girdle and tether them to a stake. Few things look more ridiculous than bunched, crooked-tip stems with foliage turned inside-out, torn or flattened by the encasing cord. Not only are your efforts sure to produce a visual disaster, chances are you’ll crack stems or flower stalks in the process.
Before you take that route, try one of the following methods of restorative staking.
Stakes and crutches
First, gather a dozen or more stakes that are just as tall as or a bit taller than the plant was before it fell. Round up a small hammer. Put your pruners in your pocket, along with a roll of string or wide, soft ties—I prefer to use green- or straw-colored hemp. Often you will need some crutches as well, so take out your loppers and prune a shrub or two to get a half dozen sticks that are at least half the height of the fallen plant and have forked tops.
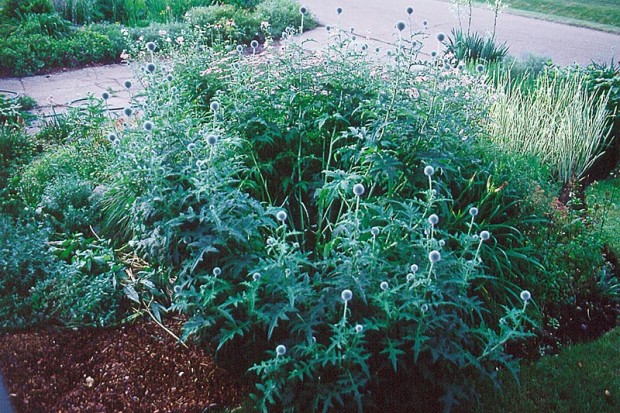
Now, lift a stem of the fallen plant you’ll be staking. Raise it gently toward vertical to see how far back you can push it without cracking it. Lay the stem back down again.
Insert 4 or 5 bamboo canes, straight sticks or hooked-end metal rods in the center of the plant’s air space. Imagine a spot about six inches underground, directly below the center of the plant’s crown. Insert the stakes as if they would meet at that point below the plant. Angle them so they are not straight up and down, but lean outward slightly to match what your test lift said the stems can bear.
Insert 6 or 8 more stakes to make a ring around the first. Lean these stakes outward to match the angle of the inner ring. An important note: You must be happy with the stakes’ positions before you start to work with the stems. The stakes should cover space evenly and gracefully—I aim to make them look like the spray of a fountain. I have learned that if I am not pleased with the stakes alone, I will not be happy with the finished staking either.
Tap the stakes into the ground with a hammer. I’ve found that if I use my weight to force them in, it’s too likely that I’ll lose my balance at least once and end up stepping or falling into the plant’s prostrate stems.
Set the stakes just deep enough to be steady. They don’t have to be driven to China, because each one is only going to support one or perhaps two stems.
To position the stakes well, you may drive them right through the crown of the plant. Don’t worry too much about this. Most of the time, the stakes will go through without serious damage. Once in a while a stake will pierce an important root or stem base, in which case the stem will tell you by wilting the next day and you’ll just cut it out then.
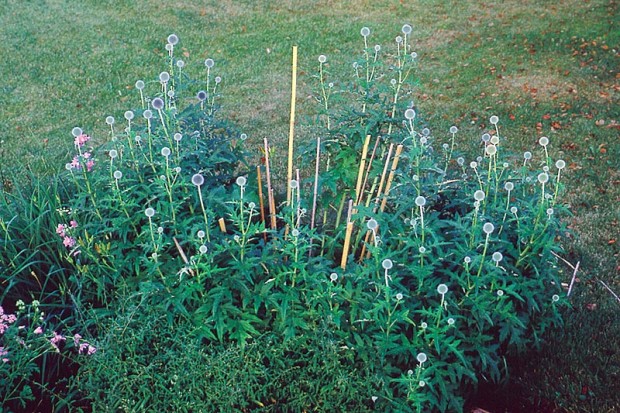
Next, take a look at the fallen stems. Picture the crown of the plant as a bull’s eye target and pick 4 or 5 stems that emanate from the bull’s eye at the center. Raise them gently, one by one, to meet in the middle of the inner ring of stakes. This often requires patience to separate the stems from the heap and guide them past the stakes without breaking them or tearing foliage.
Tie these central stems together, loosely. Let them lean against an inner-ring stake. This is only a temporary arrangement, so it doesn’t have to be pretty.
From stems still on the ground, select some that arise from the first ring around the bull’s eye. Tie one to each inner-ring stake.
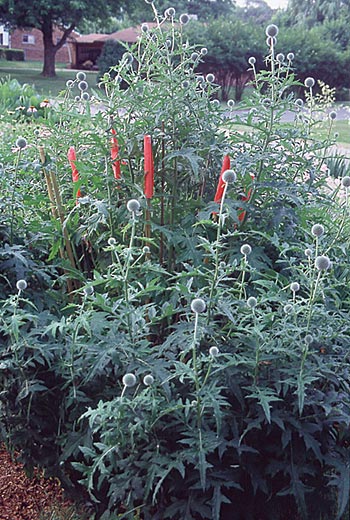
After the inner ring of stakes is full, release the string that holds the central stems together. Usually these will not fall but will rest against each other or the stakes. However, if it seems like they may slip through and fall to the ground again, take one turn of string around the inner stakes to corral the loose stems within.
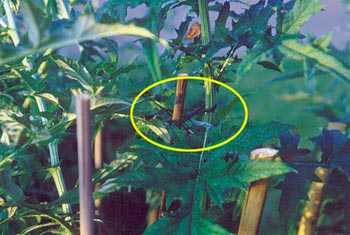
Now raise a stem and tie it to each outer-ring stake. Clip out weak and flowerless stems.
Cut off the tip of any stake that shows above the plant.
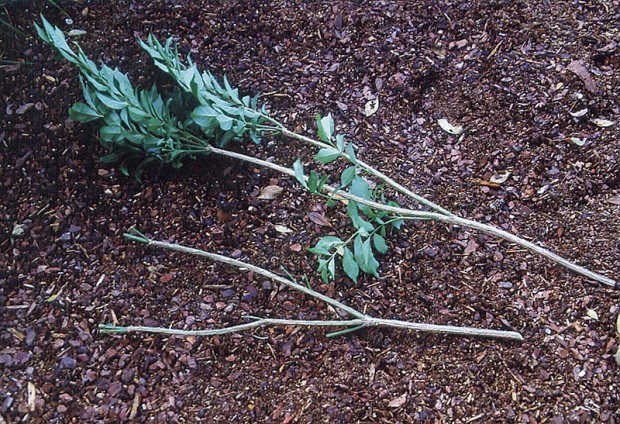
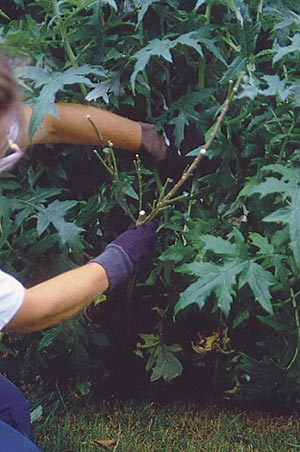
Use crutches to support the outermost stems of the fallen perennial. These outside stems are often least flexible and most crooked since they were the first to fall. Raise the outer stems one at a time, push a crutch into the ground to support it, then let the stem rest there. Sometimes one crutch has enough forks to support several stems. If so, drop stems one at a time into the crutch—don’t bunch them.
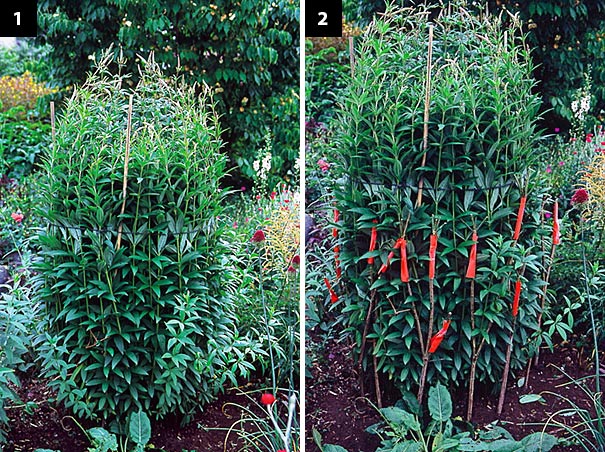
Crutches alone
Sometimes when a plant is only beginning to fall or when it has very few stems, it can be returned to grace with just a few well-placed crutches.
Lasso it, then crutch it
Throwing a lasso and cinching it around a plant is not attractive or even effective—the whole bale can still slump to one side or the other. However, I do sometimes cinch stems temporarily to pull a plant together while I set crutches.
Crutches are often simpler to place than late-season stakes and are much less visible than any kind of corral or police line you could construct around the outside of the plant with stakes and string.
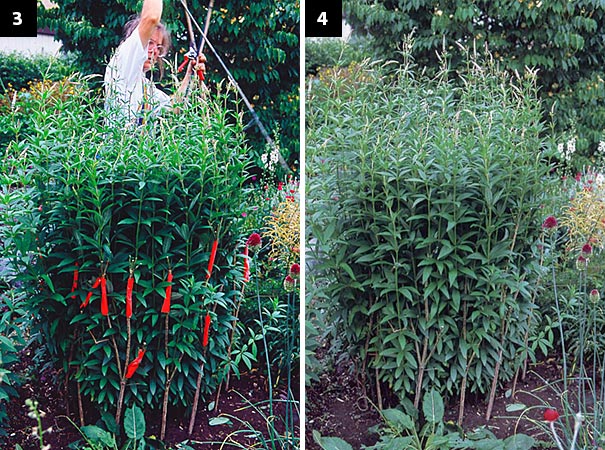
Another reason to temporarily tie up a plant is to work on a fallen neighbor:
Wrap-up: a time consuming thing
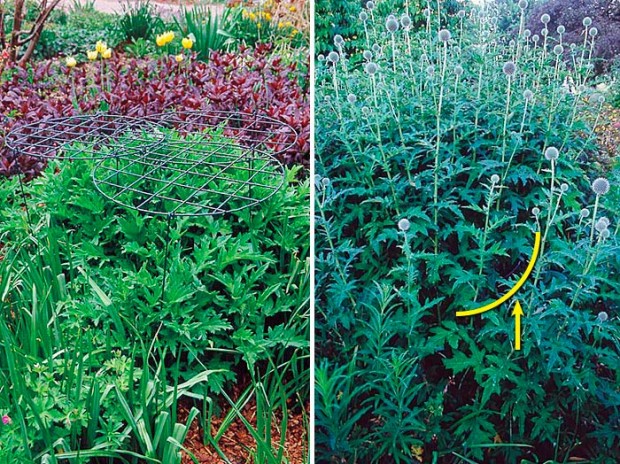
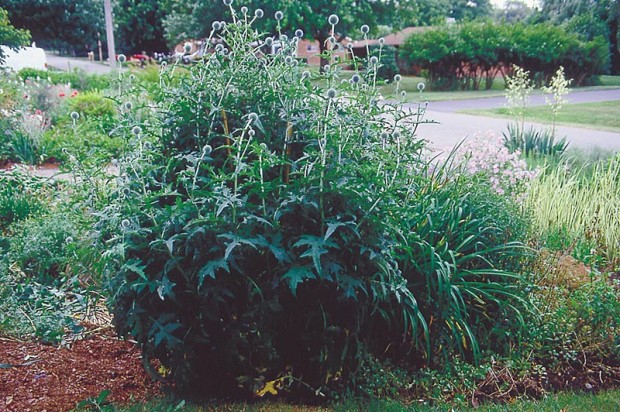
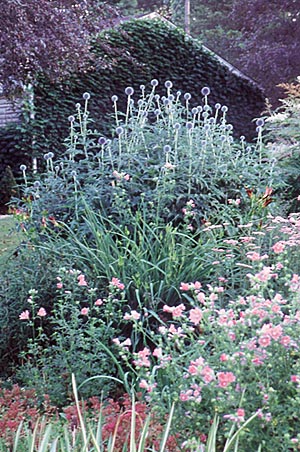
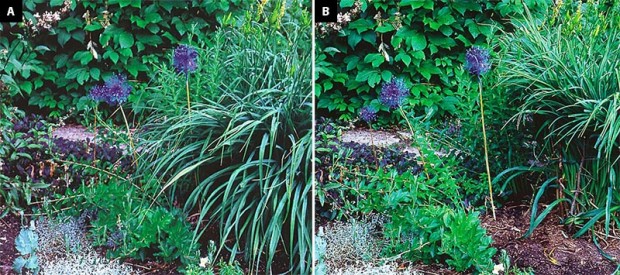
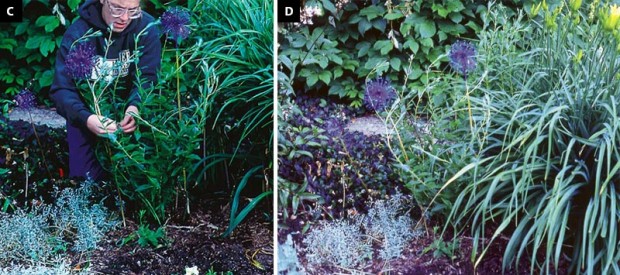
Staking after the fall takes considerably more time and skill than preventive staking. As an example, staking the blue globe thistle after its fall, including the time required to cut branches and make crutches, took about an hour. Placing the grow-through grid over the globe thistle pictured at the beginning of this article took less than five minutes in May. As my Dad always said, “If you do a thing right at the start, even if it seems like a lot of work, it will still save time in the long run.”
On the other hand, Mom must have told me a million times, “Don’t cry over it! Use your head and come up with a way to fix it.”
Out in the garden in July and August, I smile every time I stake after a fall. I’m not only salvaging a pretty plant, I’m proving my parents’ wisdom.
Article by Janet Macunovich and photos by Steven Nikkila, www.gardenatoz.com.

Deborah Mathis says
Thanks! This is one of the best articles you have ever written. 100% practical application!
jhofley says
Deborah-
Thank you for reading Michigan Gardener!
-Jonathon